ABR Vis App
This example is a pre-built app that you can use to design visualizations with the ABR Compose design interface. Follow along with this tutorial to get started building your first visualization.
Part 1: Setup
Before you begin, make sure you have installed ABR and all its dependencies.
First, import the ABR Vis App sample. You can do this by opening the package manager and navigating to the ABR package, twirling down "Samples", and clicking "Import" for the "ABR Vis App" sample.
When Unity asks about importing the TextMeshPro (TMP) essentials, click Import TMP Essential.
Once the sample has loaded, open the "Main" scene in the "Scenes" folder of "ABR Vis App". You should see a scene like the following:

Tip
In the ABREngine GameObject, make sure the ABRConfig_VisApp configuration is
selected!
Lastly, we need some data to visualize! In Unity, click ABR > Copy Example Data to Media Folder. This will make some example data available to the ABR design interface and the ABR Engine!
Part 2: Running the server
To design visualizations with the ABR design interface, you'll need to start the ABR server. Instructions for this can be found in the ABR Server README. Essentially, the ABR Compose design interface lives within the ABR Server, so you need to run that Python server first in order to design visualizations with ABR.
Once the server is installed, the only command you should need to run is:
python3 manage.py runserver
Tip
Recall that this command is run in a terminal inside the ABRServer~ folder,
which can be opened from Unity by clicking ABR > Open ABRServer~ Folder. You
may also need to re-activate the pipenv if you've closed the terminal; do so
by running python3 -m pipenv shell in the ABRServer~ folder.
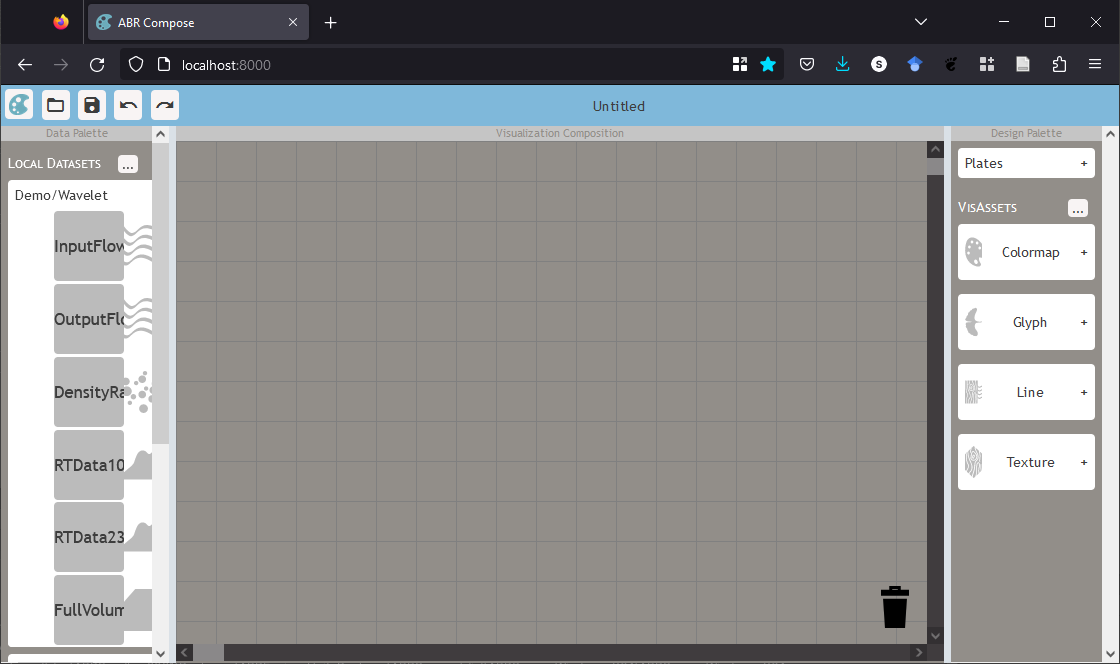
After you've started the server, visit http://localhost:8000 in a web browser. You should now see the ABR design interface:
Next steps
At this point, you're ready to get started designing a visualization! Your next step is to follow along with the Creating your first ABR Visualization with the ABR Design Interface tutorial.
If you're interested in using your own data with ABR, check out Importing Data.
If you'd like to design visualizations using C# scripting, check out ABR C# Introduction.